

Slime storage ideas matter the minute your child makes a fresh batch and you wonder where to put it, because slime left out on the table goes stiff by morning, and slime tossed in a drawer ends up stuck to everything — and slime stored right stays soft, stretchy, and ready to play with for weeks. Most homes park the slime in whatever tub it came in, leave the lid half on, and let three half-dried batches pile up on a shelf, and then wonder why nothing stretches anymore.
The fix is simple: give every batch its own airtight tub, label it, and keep it cool and out of the sun. Do that, and these slime storage ideas will keep every batch soft, stop the sticky mess on the carpet, and end the daily hunt for the lid that went missing.
Why Slime Dries Out So Fast
Slime is mostly water held inside a stretchy network, and that water slowly escapes into the air whenever the lid is off. Leave a tub open for an afternoon and you can feel the change: the top firms up first, then the stretch goes, then the whole batch starts to tear instead of pull. Air is the enemy, and heat makes it worse — a tub left near a sunny window or a warm radiator goes runny, then sticky, then hard.
Slime Obsidian’s slime care guide puts it plainly: the answer is an airtight tub that the slime nearly fills, kept in a cool spot out of the sun, with the lid on even during play when the slime is set down for a while, and the tub labelled with the name and the day it was made. That is the whole science of how to store slime in one sentence, and it is the heart of these slime storage ideas.
The other thing slime needs is a rule about where it gets played with. Slime on a carpet is a stain waiting to happen, and slime on a bed ends up in the sheets. A tray on the table, a mat on the floor, and a tub with a lid that goes back on the second play stops — that is the system, and these slime storage ideas work whether your child has one favourite batch or twelve.
7 Slime Storage Ideas That Actually Work
These seven slime storage ideas cover the whole mess, from the tub on the shelf to the dried-out batch that still has a second chance. You do not need all seven on day one. Start with the tub, the label, and the cool spot, then add the colour sorting and the play mat, and the rest falls into place.
1. One Airtight Tub Per Slime
An airtight container for slime is the single most important piece of this whole guide, because no other trick works if air keeps getting in. Pick a tub with a screw-top lid or a snap lid that seals all the way around, press the slime down flat so there is as little air trapped inside as possible, and snap the lid shut the moment play stops. A tub with a rubber gasket or a locking lid is best, and a glass jar with a tight screw lid works just as well for a small batch.
Keep the tub clean and dry before the slime goes in, because crumbs and water left inside the tub are what grow mould. Wash the tub with warm soapy water, dry it fully, and only then put the slime back. A clean tub and a tight lid are the two halves of the rule, and an airtight container for slime is the cheapest way to buy your child three more weeks of play from a batch that would otherwise go hard in three days.
2. Pick a Tub That Fits the Batch
Slime storage containers work best when the slime nearly fills them, because a small batch rattling around in a big tub has more air to lose its water to. A tub that is twice as big as the slime is a tub full of air, and that air pulls the water out. Pick the smallest tub the slime fits in comfortably, and move the slime up to a bigger tub only when it grows — some slimes puff up as they are played with, and a tub that fit on Monday can be too small by Friday.
If a batch has grown and will not fit back in its tub, do not force it. Put the extra slime in a second clean tub or a zip bag with the air pressed out, and give it a day or two — inflated slime settles back down and often fits again. One batch, one tub that fits, is one of the quietest slime storage ideas in this guide, and it is the one that makes the biggest difference to how long a batch stays soft.
3. Store Slime by Colour and Type
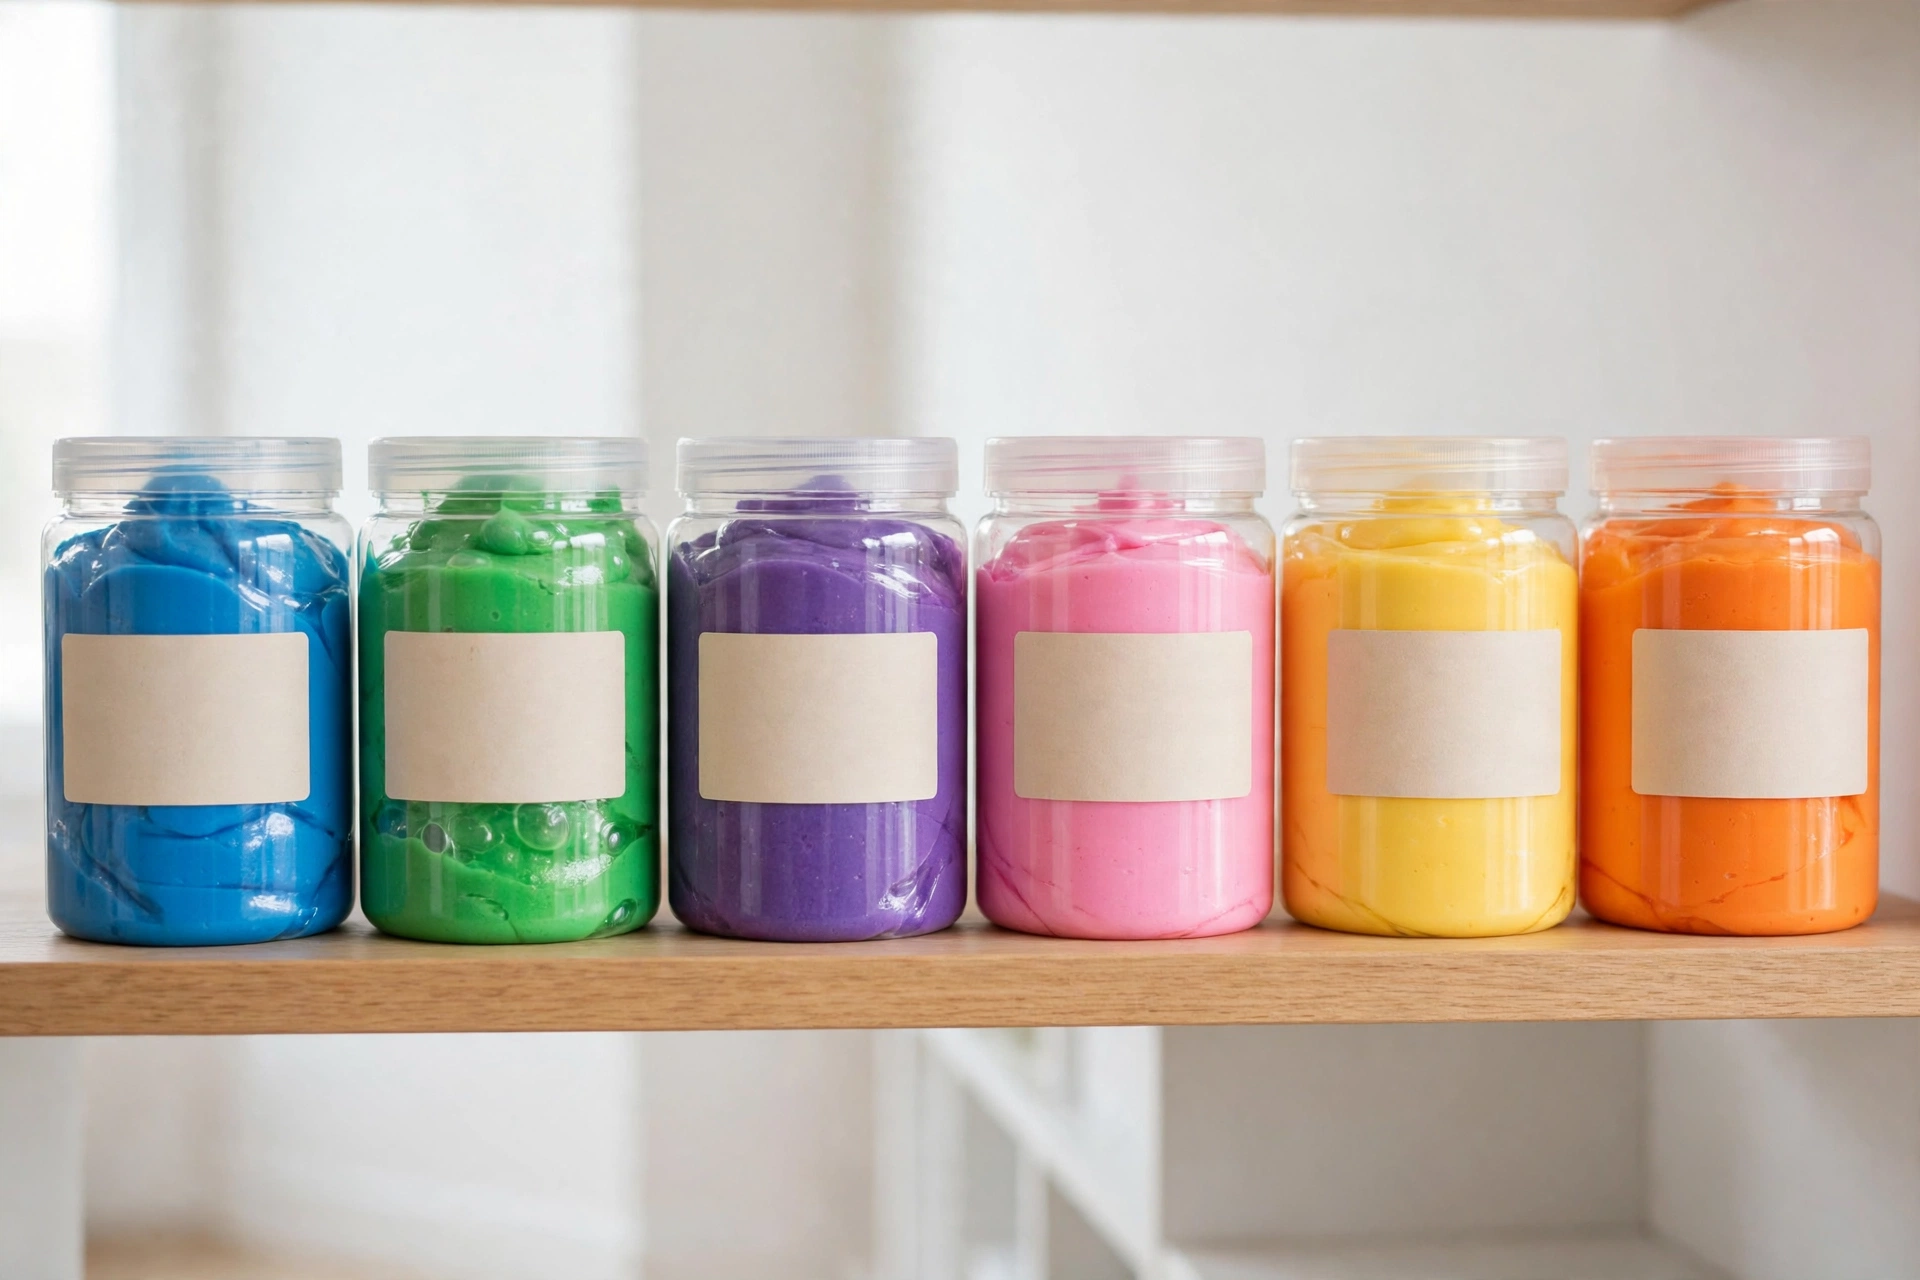
When you store slime by colour, you stop the two problems that ruin a collection: colours bleeding into each other, and nobody knowing which tub is which. Glitter slime in with plain slime means glitter everywhere. A dark blue batch next to a pale pink one in the same tub means a muddy purple batch by next week. One tub per colour, one label per tub, and the collection stays clean.
Sort by type too, not just colour. Clear slime, fluffy slime, and butter slime all feel different, and they age differently — clear slime clouds up if it sits too long, fluffy slime flattens, and butter slime dries at the edges first. Keep each type in its own tub, label it with the type and the colour, and your child can grab the exact batch they want without opening five tubs to find it. That is how slime storage ideas keep a dozen batches from turning into one muddy mess. The small closet organization ideas guide uses the same one-spot rule for a shelf that works: every tub has its own labelled place, and nothing gets shoved in on top of something else.
4. Give Slime a Play Zone With a Tray
A slime play mat is what keeps slime off the carpet, because slime only makes a mess when it has nowhere to go. Lay a silicone mat, a baking tray, or a cheap plastic tray on the table before the tub opens, and make it the one rule that never bends: slime stays on the tray. A tray catches the drips, holds the tub lid while your child plays, and wipes clean in ten seconds when play is over.
The play zone also needs a home for the tubs when play stops. A low shelf or a small basket near the table beats a high shelf your child cannot reach, because a tub your child cannot reach is a tub that stays open on the table. A tray and a low shelf are the two cheapest slime storage ideas in this guide, and they work from the very first day. The small kids room organization ideas guide uses the same low-and-close rule for toys that get used every day: the things your child reaches for most live where your child can actually reach them, and the tubs go back on the shelf the second play ends.
5. Keep the Tubs Cool, Dark, and Out of the Sun
To keep slime from drying out, store the tubs in a cool, dry spot away from direct sunlight and heat, because heat softens slime and can turn it runny or sticky, and a sunny windowsill is the worst spot in the house. A slime shelf in the shade is the simplest of all slime storage ideas, and it costs nothing to set up. A drawer, a shaded shelf, or a cupboard away from the radiator is perfect, and the tubs should never live in a hot car or on top of a heater.
Cold is not the answer either — a fridge makes slime hard and stiff, and a freezer is worse. Room temperature in a shaded spot is the sweet spot, and a tub that has gone soft in a warm room will often firm back up on its own once it cools down in its sealed tub for a while. Cool, dark, and sealed is the whole rule, and it is the one that keeps a batch playable for a month instead of a week.
6. Label Every Tub With the Name and the Date
When you label slime containers, you answer the two questions every parent asks: which slime is this, and how old is it? Write the colour and the type on the lid with a marker, add the date it was made or opened, and stick the label where your child can read it. A tub that says “blue glitter — Nov 15” is a tub nobody has to open to check, and a tub with no label is a tub that gets opened five times a day just to see what is inside.
Labels also stop the mixing. When every tub has a name, your child puts the blue slime back in the blue tub, not in the nearest open one. A strip of masking tape and a marker costs nothing, and a printed label on a clear tub works even better because your child can see the colour through the side. One label per tub, written the day the slime goes in, is one of the simplest slime storage ideas there is, and it is the one that keeps a collection from turning into a mystery box.
7. Know How Long Slime Lasts — and When to Let Go
How long does slime last? A homemade batch kept in a sealed tub in a cool spot usually stays good for two to four weeks, and a shop-bought batch often lasts a little longer because it starts out sealed. Check the tub every week or two: open it, give the slime a stretch, and look for the signs that its time is up — a sour smell, spots of mould, a slime that tears no matter how much you knead it, or a colour that has gone grey.
When a batch is done, throw it away and say so plainly — no batch lasts forever, and a mouldy batch is not worth saving. Wipe the tub out before the next batch goes in, because an old tub with mould in the corners will spoil the fresh slime too. Knowing when to let go is the last of these slime storage ideas, and it is what keeps the shelf full of batches your child actually wants to play with instead of a row of tubs nobody opens.

Where to Store Slime
Figuring out where to store slime starts with the room your child plays in, because the best spot is the one your child will actually use. A shelf in the kids room is the best all-round pick, but a small room may not have one — and every one of these slime storage ideas fits a different home, so here is how the usual spots compare:
| Spot | Best for | Watch out for |
|---|---|---|
| Low shelf in the kids room | Daily play, easy reach | Keep out of direct sun; label every tub |
| Drawer with dividers | Small rooms, lots of batches | One tub per slot; no stacking tubs on tubs |
| Basket on a table | Quick clean-up after play | Lid must go on before the basket goes back |
| Cupboard away from heat | Long-term storage, spare batches | Check the date every week; cool and dark only |
| Craft cart with trays | Kids who make slime often | Keep activator and glitter on a separate tray |
| Fridge (short stays only) | A batch that went too soft in heat | Let it warm up before play; never freeze it |
For slime storage ideas for small rooms, the low shelf wins, because one row of tubs with the labels facing out takes almost no space and your child can see every colour at once. The budget organization ideas guide uses the same rule for a small room that works: one labelled spot per item, kept where you can see it, and nothing stored loose where it gets forgotten. A shelf with a tray beside it is the best all-round pick for slime storage ideas, because it is visible, cheap, and two steps from where your child plays.
5 Mistakes That Ruin Stored Slime
Even a good storage setup fails when one of these habits slips in. Every one of these mistakes is easy to avoid once you know it, and this system of slime storage ideas is built around avoiding them. The weekly cleaning schedule guide runs the same kind of check for the whole house: a quick look on a regular day catches the small problems before they grow, and the slime shelf deserves the same five minutes.
- Leaving the lid off overnight. Even a few hours uncovered starts the drying process, and a night with the lid off can stiffen a batch for good. Lid on the second play stops, every time.
- Storing slime in a tub that is too big. A small batch in a big tub sits in a pocket of air, and that air pulls the water out. Pick a tub the slime nearly fills.
- Mixing colours in one tub. Two colours in one tub become one muddy colour by next week, and glitter in with plain slime means glitter in everything. One colour, one tub.
- Keeping slime on a sunny shelf or near a heater. Heat turns slime runny and sticky, and sunlight dries the top layer first. Cool and shaded beats sunny every time.
- Putting slime back with dirty hands. Oils, food, and dirt from hands go straight into the tub and feed mould. Wash and dry hands before play, and the batch lasts twice as long.
Frequently Asked Questions
How do I store slime so it doesn’t dry out?
How to store slime so it stays soft comes down to three rules: put it in an airtight tub it nearly fills, snap the lid shut the second play stops, and keep the tub in a cool spot out of the sun. Press the slime flat to push the air out before you seal the lid, and check the tub every week for the first signs of drying. That is the short version of these slime storage ideas: a tub that fits, a lid that seals, and a shaded shelf — and the batch stays stretchy for weeks instead of days.
How long does slime last?
How long does slime last depends on the batch and the tub, but a homemade batch in a sealed tub in a cool spot usually stays good for two to four weeks, and a shop-bought batch often lasts a little longer. The signs it is done are a sour smell, mould spots, a colour gone grey, or a slime that tears no matter how much you knead it. When you see those signs, throw the batch away and wipe the tub clean before the next batch goes in.
How do I revive dried out slime?
To revive dried out slime, add one or two drops of water or a little lotion and knead it in slowly, a few drops at a time, until the stretch comes back. If the slime is stiff rather than dry, a tiny bit of shaving cream or hair gel kneaded in can soften it. Go slowly — too much liquid at once turns the slime sticky and runny, and then it needs a drop of activator to firm up again. If the slime is hard all the way through or smells off, it is done, and no amount of kneading will bring it back. That is why slime storage ideas always start with the tub, not the fix.
Why does my slime get sticky?
Slime gets sticky when it has had too much water, too much heat, or too little activator for the batch. Warm rooms make slime melt and go tacky, and a tub left in the sun can come back runny. Knead a few drops of activator — borax solution, liquid starch, or contact lens solution — into the slime until it firms up, and store the tub in a cooler spot next time. If the stickiness came from dirty hands or food in the tub, the batch may not come back, and it is time to start fresh in a clean tub.
Soft Slime, Tidy Shelf, Happy Kid
A row of labelled tubs on a low shelf, lids snapped shut, colours sorted and dates on every lid is a setup with one less worry, and it is the tub, the label, and the cool spot that keep slime soft, not the size of the room. This system works because it is simple enough for a child to repeat every time the tub opens. Lid on when play stops, slime on the tray, and the tub back on the shelf where it belongs.
Give every batch one tub that fits, one label with the name and the date, and one cool shaded spot on the shelf, check the tubs once a week for drying or mould, and the slime stays soft until the day your child is ready for a fresh batch. That is what good slime storage ideas do: they turn a ten-second routine into slime you can trust, soft and stretchy and ready to play, and a shelf where nothing ever goes missing.