

Charging Station Organization Ideas That Keep Cables Tidy and Devices Ready
Charging station organization ideas start with one honest look at where your cables actually live, because right now they are probably everywhere. One charger dangles from the kitchen counter, another hides behind the bed, and a third is in your bag — never the one you need. You are not messy, and your house is not broken; every device you own simply arrived with its own cable, and nobody ever gave them a home.
That is how a drawer fills with mystery cables and a desk ends up looking like a bowl of spaghetti. A phone cable by the sofa, a tablet cable by the bed, and a laptop brick on the floor — each one made sense on the day it landed there, and together they make a mess you step over every day. The fix is not a fancier charger. It is one fixed spot where every device charges, every cable has a label, and nothing wanders off.
The plan below takes about an hour, and it works in a small apartment just as well as in a big house. You will count what you own, pick one hub, hide the power strip, and set a travel rule so the house chargers never leave home. These charging station organization ideas are built around one goal: every device has a place to charge, and you always know where that place is.
Why Chargers Spread All Over the House
Chargers spread because charging follows you. You plug your phone in wherever you happen to sit, and the cable stays there. Then the tablet needs power in the bedroom, the earbuds need power on the desk, and the laptop needs power at the kitchen table. A week later you own five charging spots and none of them works well. That spread is exactly what charging station organization ideas are designed to stop, because the answer is one home for power instead of five half-spots.
The spread also costs money. When you cannot find a cable, you buy another one, and the drawer gains one more mystery cord. Old cables pile up too — the ones for a phone you replaced two years ago, the ones with the wrong plug, the ones that charge so slowly they are useless. A quick count usually shocks people: most homes hold twice as many chargers as they have devices. Once you see the pile, the fix feels obvious, and the rest of the plan takes care of itself.
Step 1: Gather Every Charger and Cable
Start by pulling every charger and cable out of every drawer, bag, car, and nightstand and spreading them on the table. Yes, all of them — including the tangled ones at the back of the junk drawer and the spare in your work bag. You cannot organize what you cannot see, and most homes have twice as many cables as anyone guesses. Match each charger to a device as you go, and set the orphans aside.
Keep one charger per device plus one spare, and let the rest go. Recycle the frayed and damaged cables instead of keeping them as spares, because a damaged cable can hurt a device or stop charging at the worst moment. Retire the ones for devices you no longer own, and keep only the cables that fit something you charge every week. This one step usually cuts the pile by a third, and it is the fastest win in charging station organization ideas.
Step 2: Pick One Hub
Now choose one spot where all charging happens. The best spot is where charging already happens most — a desk corner, a kitchen counter, or a hallway shelf — near a wall outlet and out of the way of daily traffic. A single hub is the heart of charging station organization ideas, because one fixed spot turns five scattered habits into one routine. A hub on the desk also pairs well with holiday home office organization ideas when year-end work picks up and the desk gets busier.
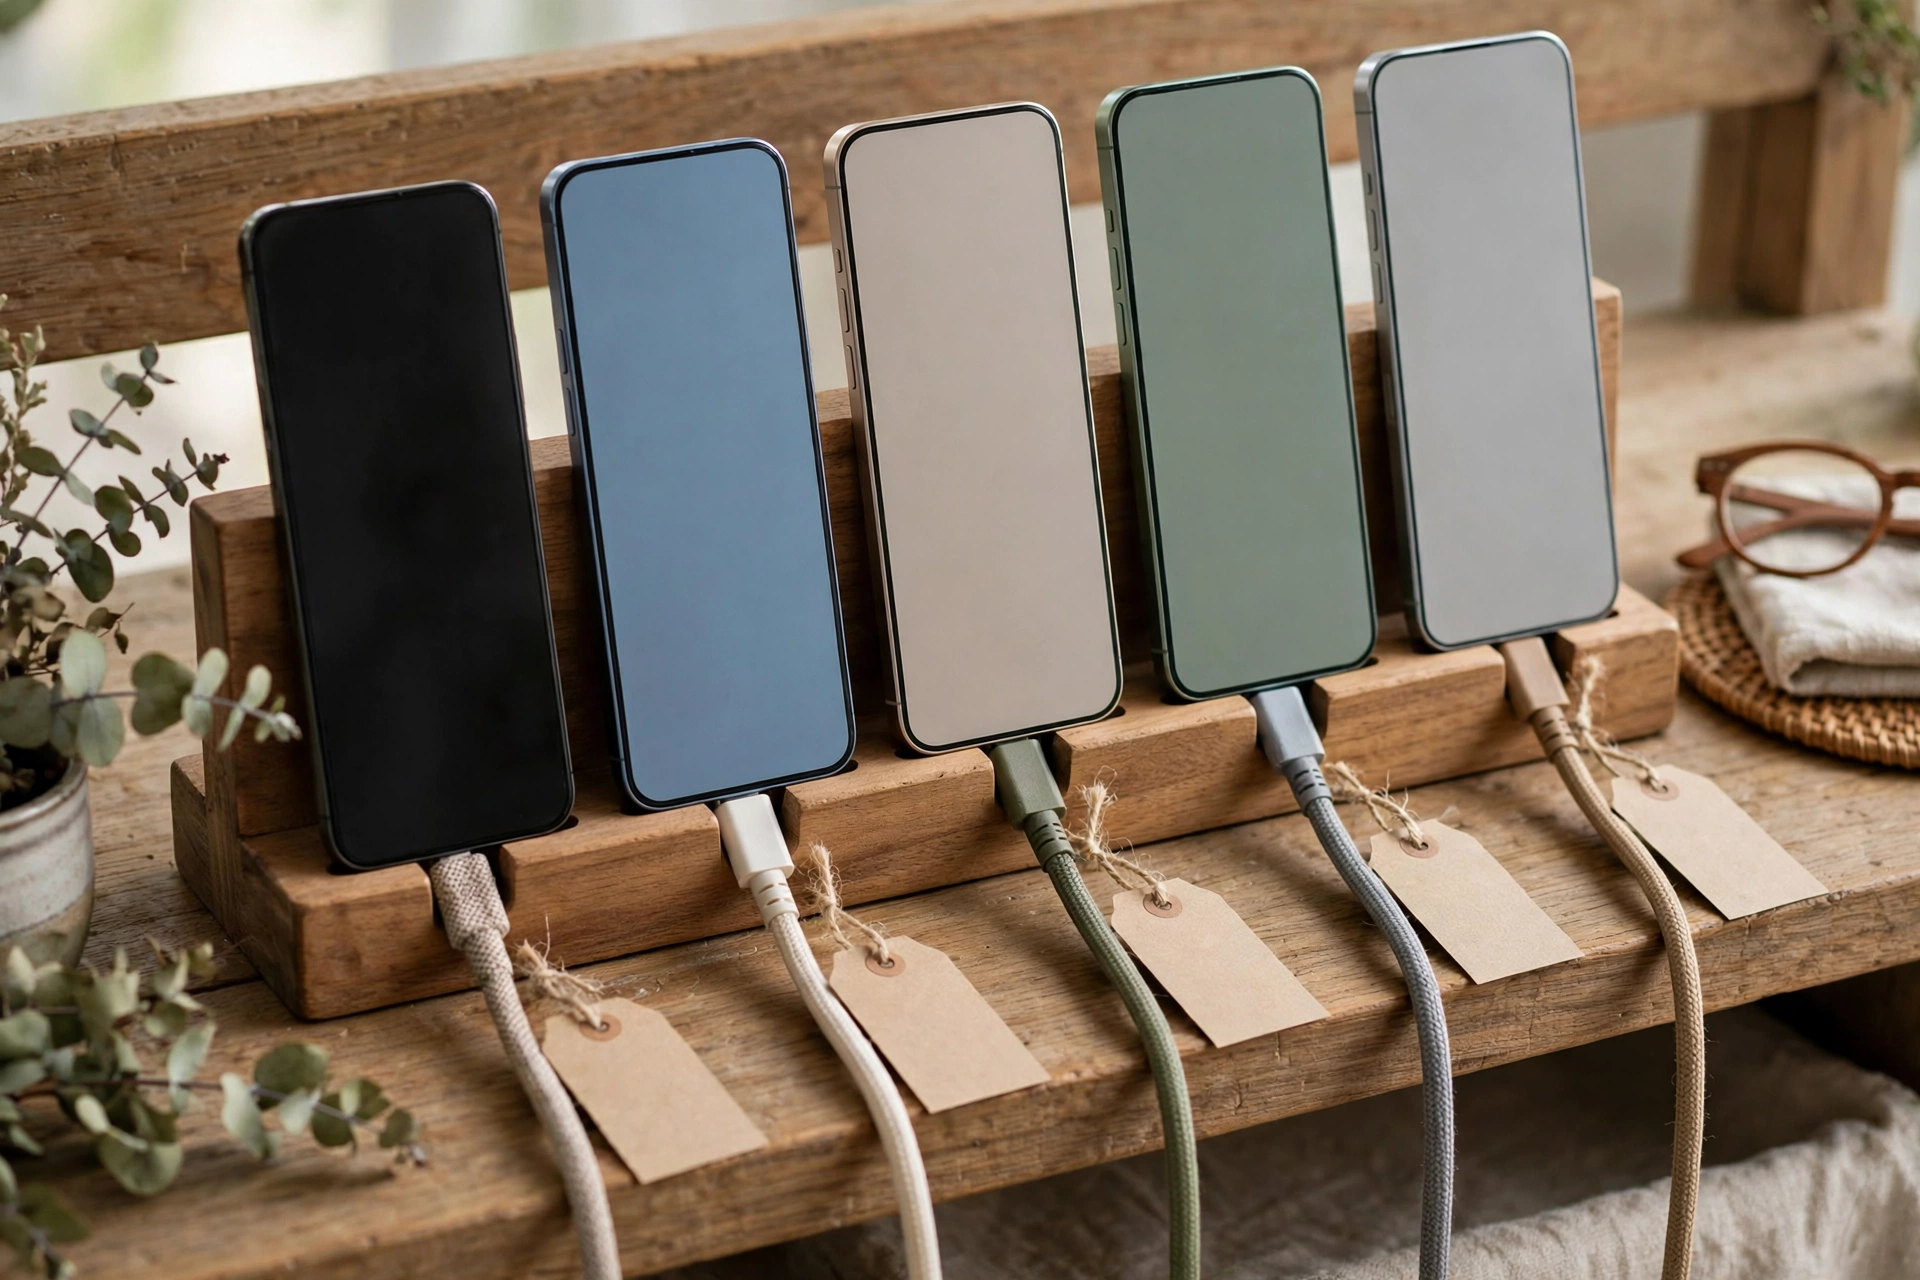
Give the hub a tray or a small shelf so the devices have a clear edge and the cables have nowhere to spread. A charging tray keeps a phone, earbuds, and a smartwatch in one tidy row, and it tells everyone in the house where devices belong. The same one-spot rule sits behind small home office organization ideas, where the desk stays clear because the cables have a home. If your desk is already set up with fall home office organization ideas, the hub fits right into that same corner without moving anything else.
Step 3: Choose the Right Gear
You do not need much gear, and the best charging station organization ideas keep the gear simple. A multi-port charger is the single best buy: one brick with four to six ports replaces a row of single adapters and frees the whole outlet strip. Check that it supplies enough power for your biggest device, since a laptop needs far more than a phone. A multi-port charger is one of the cheapest budget organization ideas for a desk, because one hub replaces four single adapters and the savings show up the first week.
Add a charging dock or a small stand for the devices you charge every night, so phones and tablets sit upright instead of sliding off the counter. Phone charging and tablet charging both stay tidier with short cables where the device sits close to the hub — a one-foot cable for a phone on a dock, a three-foot cable for a tablet on a shelf — and save the long cables for the couch or the car. Short cables are the quiet trick behind tidy hubs: less slack means less tangle, and the desk looks calm instead of wired.
Step 4: Hide the Power Strip and Tame the Slack
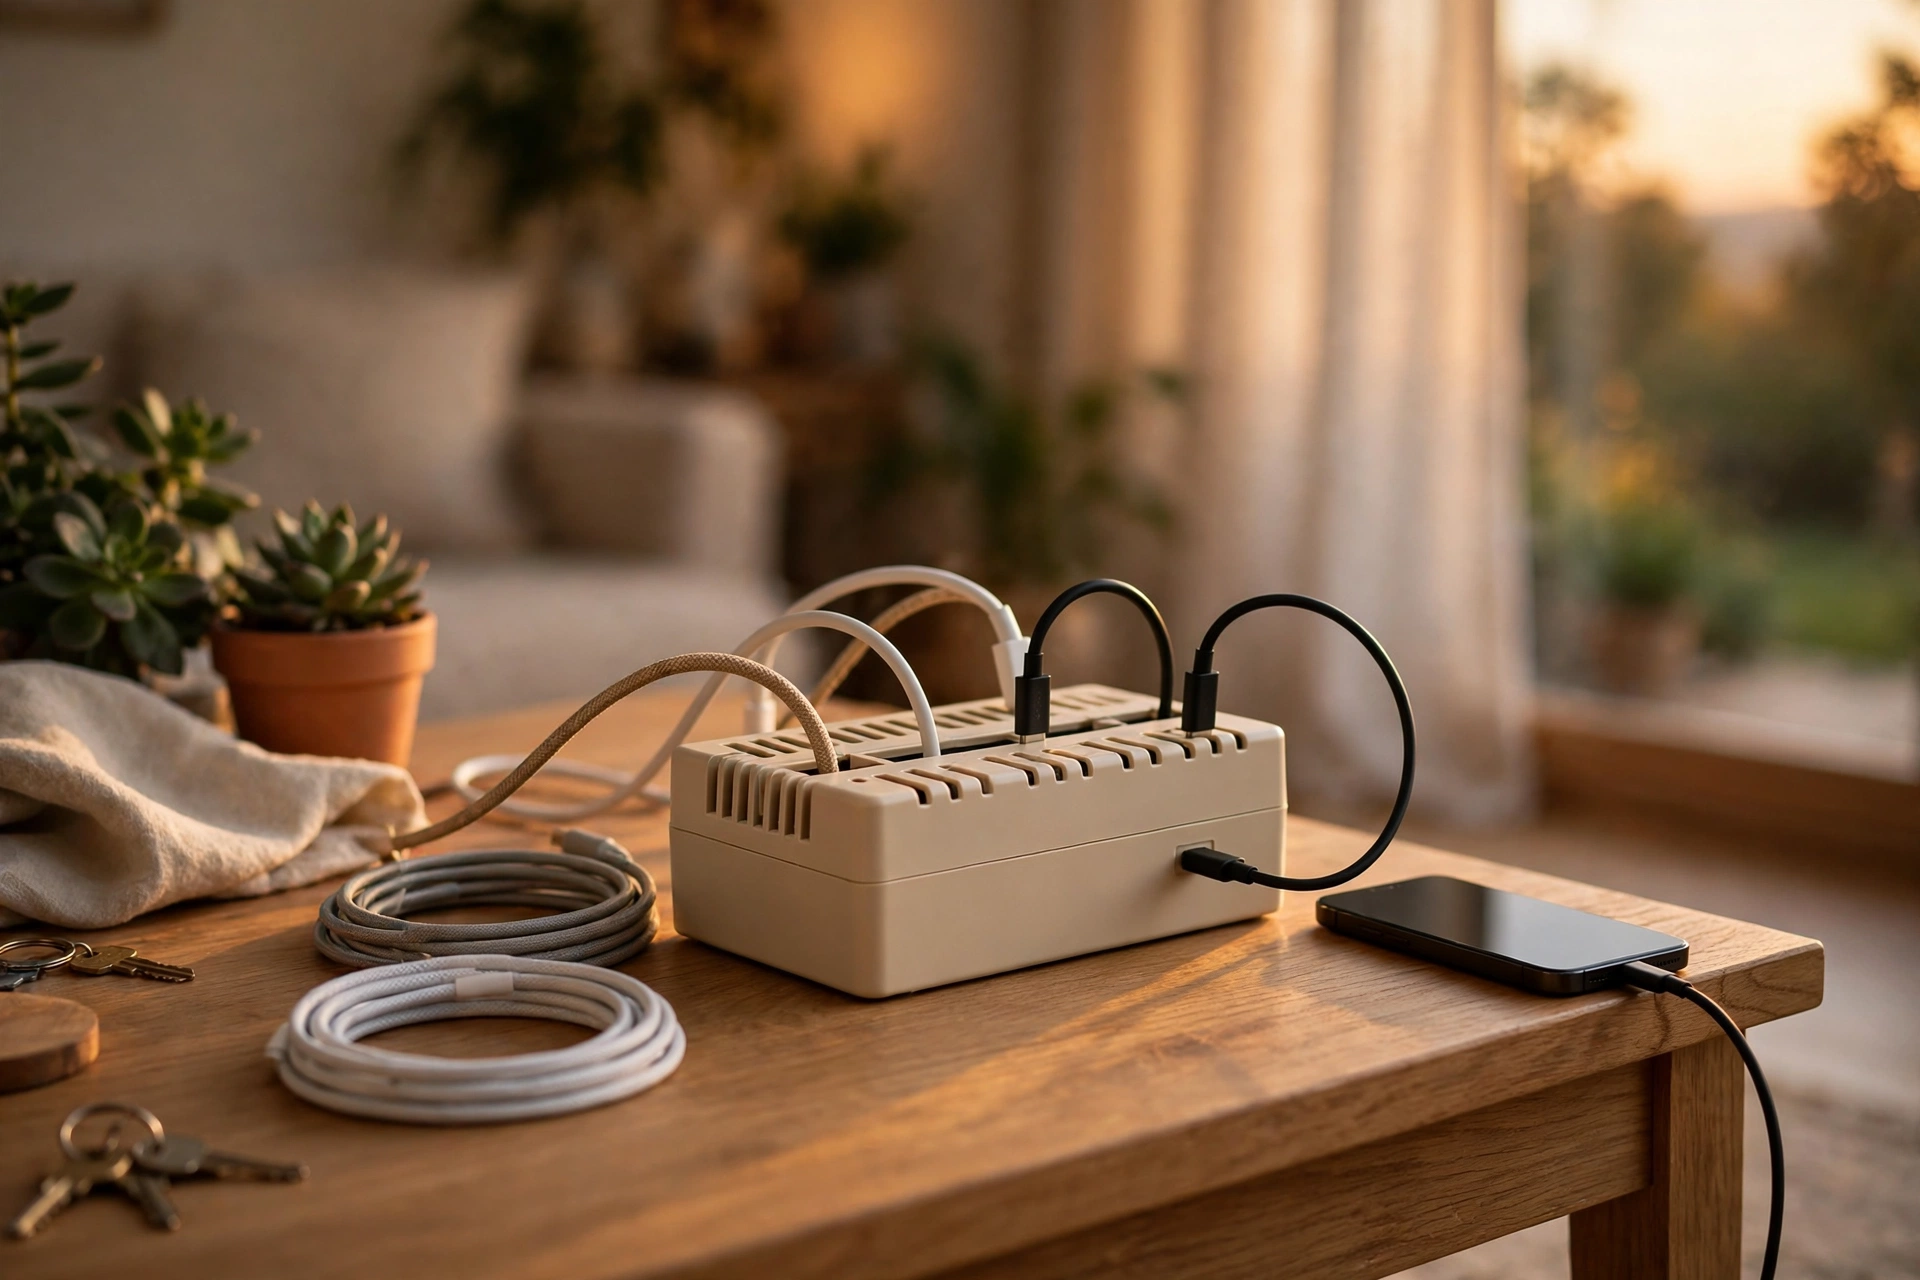
The power strip is the ugly part, so hide it. A cable box holds the strip and the extra cord length behind a lid, and the devices plug in through slots in the side. Leave breathing room inside the box instead of packing it tight, because cables warm up during use and a tight box traps heat. This step is where charging station organization ideas turn a pile of cables into a calm corner you barely notice.
Good cable management starts with the slack you cannot hide: use cable clips along the edge of the desk or the back of the shelf, and a cord sleeve to bundle two or three cables into one neat run. A cord organizer with adhesive clips keeps the charging ends right where your hand expects them, so cables stop sliding behind the desk every time you unplug. If you want a second opinion on the same approach, the Smart Productivity HQ charger guide walks through the same audit, hub, hide, and carry method in one short read.
Step 5: Label Every Cable
When three cables look the same, labels save you from testing each one. Wrap a small tag or a strip of colored tape around each cable near the plug end and write the device name on it — phone, tablet, watch, earbuds. Cable labels take five minutes and end the daily guessing game for the whole household. Labels are the small habit that keeps charging station organization ideas working, because a labeled cable always goes back to the right port.
Charging Station Quick Guide: Which Setup Fits Each Spot
| Spot | Best setup | Keep it tidy with |
|---|---|---|
| Desk | Multi-port charger + cable tray | Cable clips, short USB-C cables |
| Nightstand | Small dock + one short cable | Charging tray, cable clip on the edge |
| Kitchen counter | Charging tray + multi-port hub | Labeled cables, one spare in a drawer |
| Hallway shelf | Wall-mounted shelf + power strip in a cable box | One cable per device, labels |
| Family hub | Dock with slots for each person | Name labels, a weekly reset |
Match the setup to the spot instead of forcing one setup everywhere, because the best charging station organization ideas fit the spot, not the other way around. A nightstand needs one short cable and a dock, while a family hub needs a slot for every person and a label on every cable. The table above is a shortcut, not a rule — start with the spot you use most and add the next one only when the first one holds.
Nightstand Charging That Helps You Sleep
The nightstand is the second most common charging spot, and it deserves the same one-home rule. A bedside setup is one of the quietest wins in charging station organization ideas, because a tidy nightstand changes how the bedroom feels at night. Use a small dock or a charging tray, one short cable for the phone, and a cable clip on the edge of the nightstand so the cord never slides behind the bed.
Keep only the chargers you use every night on the nightstand, and move the spares to the hub. Nightstand charging works best when the phone sleeps in the same spot every night, away from the pillow and off the floor. A short cable matters here more than anywhere else — a six-foot cable on a nightstand is a trip hazard in the dark, while a one-foot cable stays put and looks calm.
A Family Charging Station Everyone Actually Uses
In a shared home, one hub only works if everyone uses it. A family hub is where charging station organization ideas earn their keep, because four people charging in four rooms is four messes, while one hub is one habit. Give each person a labeled slot or a small tray, and put the hub where everyone passes it — the kitchen counter or the hallway shelf works better than a bedroom nobody else enters.
Set two house rules and the hub holds. First, devices charge at the hub and nowhere else, so a phone never ends up plugged in behind the sofa. Second, the travel pouch rule: one spare charger and cable live in a pouch by the door, so nobody borrows a house charger for a trip. A hallway closet shelf works too, and the same give-everything-a-home rule behind small closet organization ideas applies to cables as well. The travel charging pouch is the piece most people skip, and it is the piece that keeps the hub full.
Holiday Guests, New Devices, and Travel
November is the best month to test your hub, because the holidays bring guests, gifts, and new devices all at once. Holiday hosting is the best test of charging station organization ideas, since a house full of guests means a house full of phones that all need power. Set up a small guest charging spot before visitors arrive: a power strip in a cable box on a side table, two or three spare cables, and a note that says help yourself.
New devices need a plan too. When a gift arrives with its own cable, match it to the hub on the same day instead of letting it start a new pile on the counter. For travel, pack the pouch the night before — one multi-port charger, one cable per device, and a spare — and leave the house chargers at home. Device charging on the road works best when the pouch is packed once and refilled after every trip, so it is always ready.
A 10-Minute Weekly Charging Reset
A charging hub stays tidy when somebody resets it once a week, and the reset takes ten minutes at most. Add it to your weekly cleaning schedule and pick a quiet moment — Sunday evening works well — and run through the same short routine every time.
- Return every stray charger to the hub, and unplug any cable that belongs to a device nobody owns anymore.
- Check the labels, and replace any tag that fell off or faded.
- Coil the spare cables loosely, tie them with a soft tie, and put them in one small box or drawer.
- Wipe the tray and the dock, and check the power strip for dust.
- Pack the travel pouch again, so it is ready before the next trip.
That is the whole routine, and it is the habit that keeps charging station organization ideas working long after the first tidy-up. A hub that gets a weekly reset never slides back into a tangle, because the mess never gets a week to grow.
Frequently Asked Questions
How many chargers should I keep?
The short answer in most charging station organization ideas is one charger per device plus one spare. For a typical home that means four to six chargers at the hub, one travel spare in the pouch, and nothing else. If a charger has not been used in a month, it probably does not need a spot at the hub.
What is the best cable length for a charging station?
Short cables win at the hub: one foot for a phone on a dock, three feet for a tablet on a shelf. Long cables belong in the car or the travel pouch, where the extra reach matters. The right length is the shortest one that still reaches the device without pulling.
How do I hide a power strip safely?
Use a cable box made for the job, with slots for cords and room for air. Leave space around the strip, never pack the box tight, and check that nothing feels hot after an hour of charging. Keep the box off the floor and away from water, and replace any strip that feels warm or smells odd.
How do I stop cables from falling behind the desk?
Clip them. A small adhesive cable clip on the edge of the desk holds each charging end right where your hand expects it, and a cord sleeve bundles the run to the strip. One home for every cable is the single rule that matters most in charging station organization ideas, and clips are how you give a cable a home.
A Calm Corner for Every Device
The best charging station organization ideas do not need a big, fancy, or expensive setup. It needs one hub, one multi-port charger, labeled cables, a hidden power strip, and ten minutes a week to keep it that way. Start with the great count — pull every cable out, match it to a device, and let the extras go — and the rest of the system builds itself. The desk will look calmer, the nightstand will stay clear, and you will stop buying cables you already own.
Charging station organization ideas only work if you use them, so try the hub this week. Pick the spot, set the tray, label the cables, and see how fast the tangle fades. You will know in one evening whether the new system works — and if it does, the cable hunt stops for good.