

Greenhouse organization ideas start with a simple truth: a greenhouse fills up fast. One flat of seedlings, a bag of potting soil, three watering cans, and a pile of empty pots — and suddenly the path you need to walk is gone. If your greenhouse feels more like a storage shed than a growing space, you are not alone. Most greenhouses get messy the same way: a little at a time, until nothing has a home.
The fix is not a bigger greenhouse. It is a plan that gives every job its own spot: a place to pot, a place to grow, and a place to store what you are not using right now. When each zone has a job, you stop moving the same pots three times a day, and the plants get the light and air they need. That is what good greenhouse organization ideas are for — a small space that works hard without feeling cramped.
Why Greenhouses Get Messy So Fast
A greenhouse is a working room, not a display room. Soil, water, and plants come in every day, and every one of those things leaves a little mess behind. Pots stack up because there is no shelf for them. Tools end up on the bench because there is no hook for them. Seed packets drift into drawers because there is no box for them. The mess is not laziness; it is a missing system.
The second problem is that greenhouses change with the seasons. Spring brings seed trays and sowing. Summer brings tall tomatoes and watering cans everywhere. Fall brings the harvest and the cleanout. A setup that worked in April can feel wrong by July, so the plan has to bend a little with the year. The ideas below are built to flex — move a shelf, swap a zone, and the system still holds.
Step 1: Empty It and Start Clean
Before you buy a single shelf, empty the greenhouse. Pull everything out onto the lawn on a dry day, sweep the floor, and look at what you actually own. A full greenhouse cleanout sounds big, but most small greenhouses empty in under an hour — the sorting is the part that takes the afternoon.
Sort everything into four piles:
- Keep and use: tools and pots you used this season, in working order.
- Keep and store: seasonal items, spare pots, and things you use once a year.
- Give away or compost: the fifth watering can, cracked pots, and plants that never thrived.
- Toss or recycle: broken trays, dried-up seed packets, and anything you kept “just in case” for three years.
Be honest about the duplicates. Three trowels is two trowels too many, and a cracked pot is not a spare — it is trash with a drainage hole. A clean floor and an honest pile list are the foundation of every greenhouse organization idea that sticks, because you cannot plan storage for a pile you have not seen in daylight.
Step 2: Give the Greenhouse Three Zones
A greenhouse works when it has zones, not piles. Three zones cover almost every small greenhouse: a potting zone, a growing zone, and a storage zone. Give each one a wall or a corner, and the daily work starts to flow instead of pile up.
Put the potting zone by the door, so soil and supplies come in and out without crossing the plants. Put the growing zone where the light is best — usually the south side — with the tallest plants at the back so they do not shade the small ones. Put the storage zone on the north wall or the shadiest corner, where plants would struggle anyway. A clear path at least two feet wide ties the zones together, so you can carry a tray without brushing leaves. This is the heart of smart greenhouse organization ideas and a good greenhouse layout: the right job in the right spot, with room to move between them. Three zones cover almost every small greenhouse — and the same plan fits a mini greenhouse on a balcony.
Step 3: Pick Shelving That Fits the Space
Shelving is how a small greenhouse grows without getting bigger — and it is the single biggest win in greenhouse organization ideas, because it turns wall space into growing space. Wire shelves work best on the sunny walls because light passes through the gaps to the plants below, and they hold seed starting trays without shading the row underneath. Solid wood shelves suit the north wall, where shadows matter less and the bench can hold heavy bags of soil. A tiered stand — shelves that step up like stairs — gives every plant its share of light and looks tidy because the pots sit in neat rows.
Hang lightweight plants from the roof supports with strong hooks, and use wall-mounted pocket planters for herbs and small flowers. This is vertical gardening at its simplest: use the walls and the roof, not just the floor. Rolling shelves on wheels are worth it if your light changes through the day: roll the trays toward the sun in the morning and back for watering. Whatever you pick, make sure each shelf can hold real weight — a tray of wet potting mix is heavier than it looks, so aim for shelves rated for at least 50 pounds per tier.
| Shelf type | Best for | Watch out for |
|---|---|---|
| Wire shelving | Sunny walls, seed trays | Light passes through, so plants below still get sun |
| Solid wood bench | Potting zone, heavy bags | Blocks light — keep it on the north wall |
| Tiered stand | Small pots, seedlings | Step depth 8–10 inches so pots sit flat |
| Rolling shelves | Moving trays to the light | Lock the wheels before watering |
| Hanging hooks | Trailing plants, herbs | Keep them off the main path so nothing brushes your head |
Step 4: Set Up a Potting Bench That Works
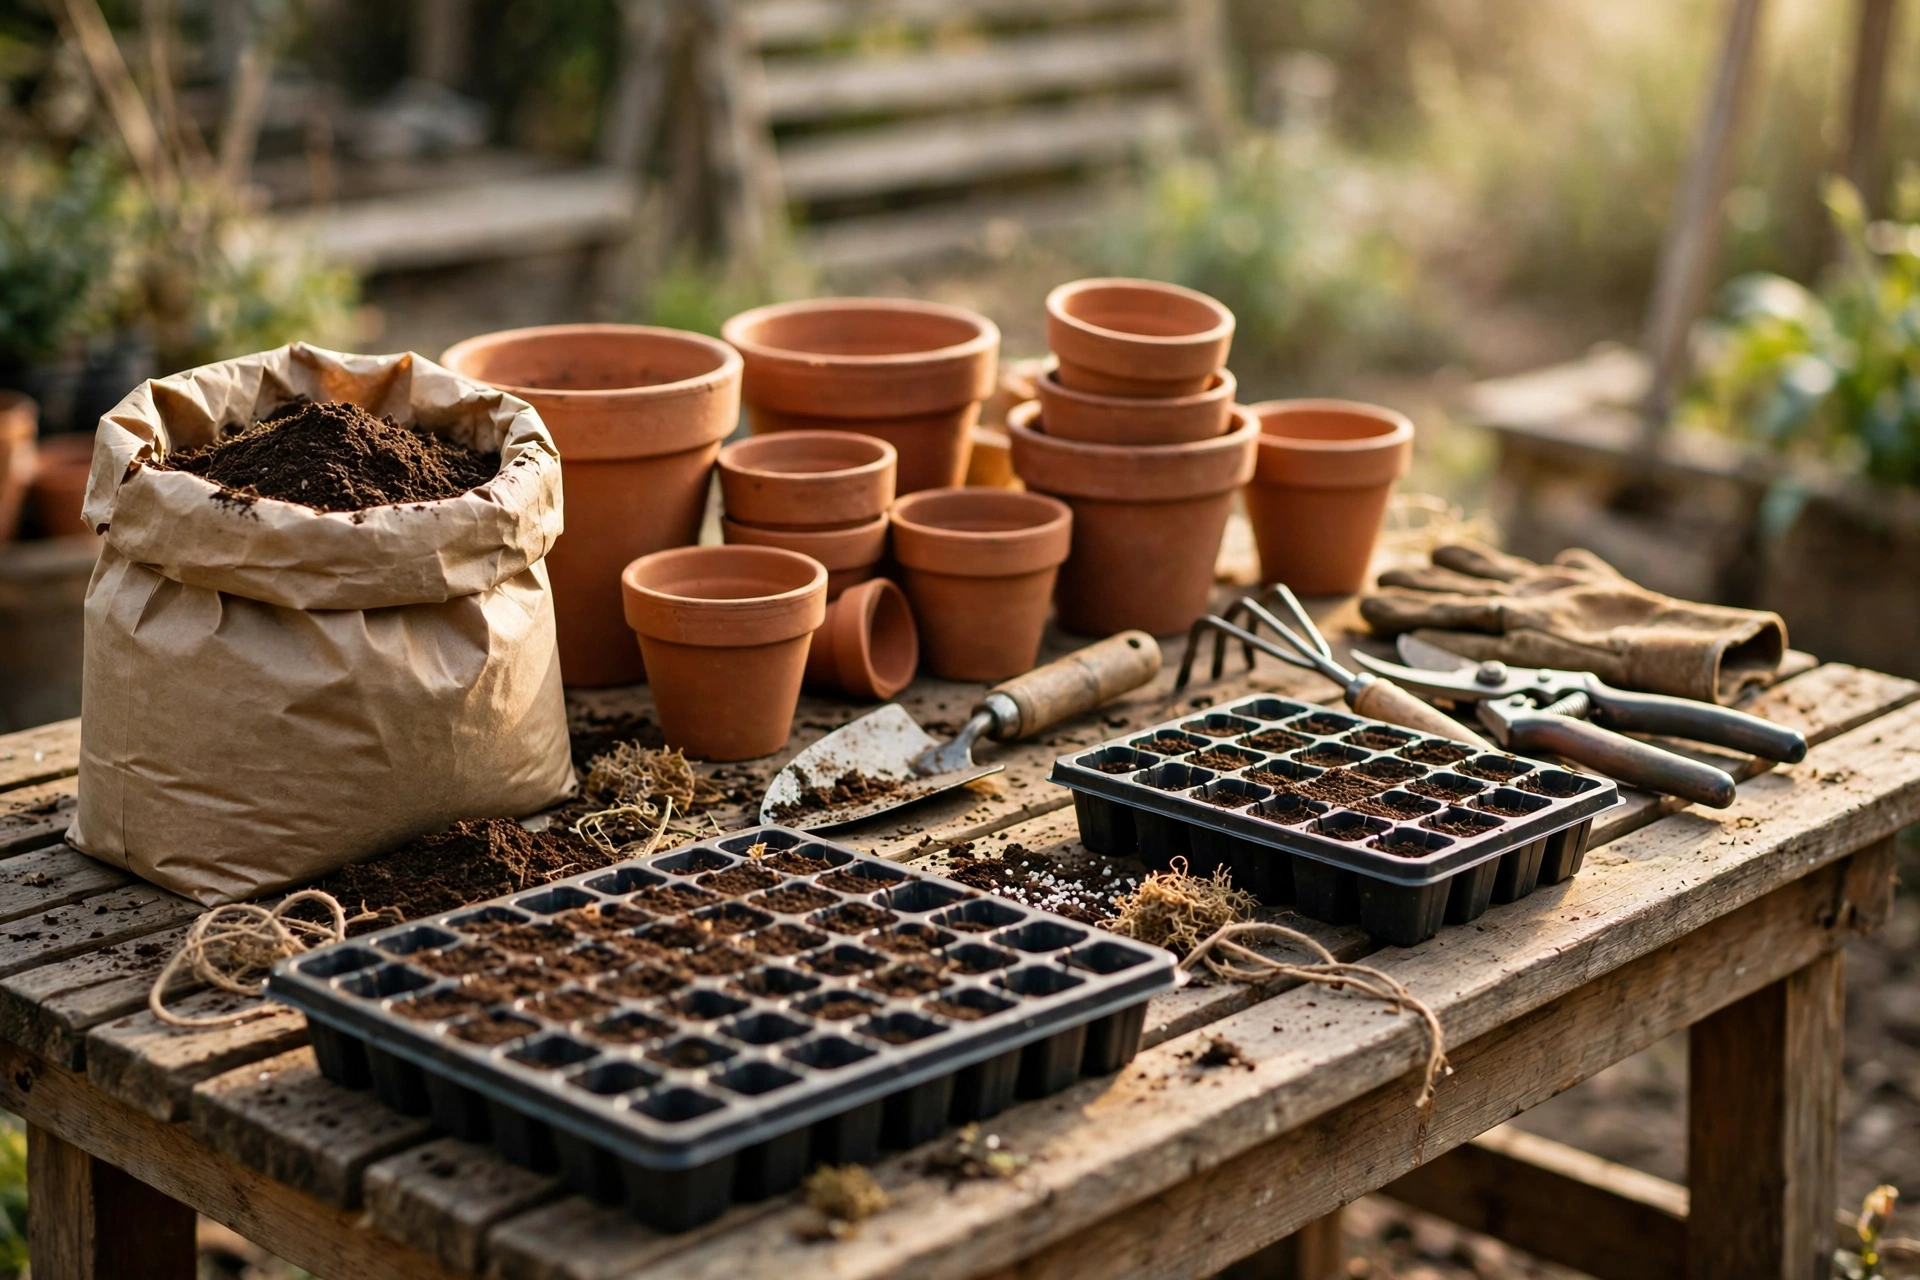
A potting bench is the heart of the potting zone, and it earns its place by holding everything you reach for while you sow and repot. The bench should sit near the door, at a height just below your elbow, so potting does not strain your back. A lower shelf holds the bags of mix — simple potting soil storage that keeps the bags dry and off the floor; a top shelf holds the small pots and plant labels; a row of hooks on the side holds the trowel, the snips, and the twine.
Keep the bench surface clear at the end of every session. A bench covered in old pots is a bench you cannot use, and the potting ends up on the floor instead. Sweep the mix back into the bin, stack the clean pots by size, and hang the tools. Five minutes at the end of the day saves twenty the next morning — that is the kind of small habit that keeps greenhouse organization ideas working long after the first tidy-up.
Step 5: Store Tools Where You Can Grab Them
Tools left on the floor rust, trip you, and vanish under leaves. Garden tool storage starts with one rule: hang them instead. A row of heavy hooks by the door takes the long-handled tools off the floor in ten minutes, and a pegboard above the bench holds the hand tools where you can see them all at a glance. Small metal bits — plant ties, spare screws, drill bits — go on a magnetic strip so they stop rolling into the soil.
Good greenhouse organization ideas keep the wall plan simple: if you use it every week, it hangs at arm height; if you use it once a year, it goes on the high shelf. The same rule that keeps a garden shed tidy works here too, and our garden shed organization ideas use the same wall-first plan — it fits a greenhouse just as well.
Step 6: Label Seeds, Supplies, and Bins
Small things are what turn a greenhouse into a junk pile. Seed packets, plant tags, twine, and feed spread across every flat surface until no surface is usable. Clear greenhouse storage bins fix this in one move: put the small things in labeled bins, and put the bins on the shelves where you can see them.
Label every bin with waterproof tags or a marker that survives damp air. One bin for seed packets sorted by sowing month, one for plant ties and tags, one for feed and pest sprays, one for spare pots. Keep paper seed packets in sealed boxes off the ground — damp air ruins them fast — and store soil in closed bins so pests stay out. A bin you can read from the path is a bin you will actually use, and that is the quiet test of greenhouse organization ideas: if you can find it without hunting, the system works. For the plants that move back indoors when the cold comes, our indoor plant organization ideas show how to group them by light so the move is quick and nothing gets lost.

Step 7: Plan for Winter Before It Arrives
Fall is the best time to organize a greenhouse, because winter is when the damage happens. Winterizing a greenhouse takes one afternoon: clean the glass or panels so winter light gets in, check the heater or frost cloth, drain the hoses, and move cold-sensitive supplies into sealed bins. Fuel for heaters and liquid feeds should never sit in freezing air.
Rotate the supplies with the seasons. Summer gear — shade cloth, extra watering cans — goes into a labeled bin up high for the cold months. Winter gear — frost cloth, bubble wrap, the heater — comes down where you can reach it. Keep the frost cloth where you can grab it in the dark, because the first cold night never waits for a tidy shelf. The Garden Buildings Direct greenhouse organizing guide covers the same cleanout-first order, and it is worth a read before your big seasonal sort.
Your 10-Minute Weekly Greenhouse Check
- Sweep the floor and clear the path.
- Put every tool back on its hook and empty the potting bench.
- Check the bins — anything without a label gets one, anything broken goes out.
- Water only the plants that feel dry an inch down, and empty the saucers.
- Rotate each pot a quarter turn for even growth.
- Snip yellow leaves and wipe dusty leaves with a damp cloth.
- Check seed packets and labels — anything faded gets a fresh tag.
Run this check on the same day each week, and pair it with the house routine. Build the watering into a simple watering routine you run the same day each week, so no plant gets missed. A weekly cleaning schedule pass over the house fits the same pattern: the same ten minutes that keeps the kitchen calm keeps the greenhouse calm too.
Frequently Asked Questions
How do I organize a small greenhouse?
Start with a cleanout, then set up three zones: potting by the door, growing where the light is best, and storage on the shadiest wall. Add wire shelving on the sunny walls, keep a clear two-foot path, and label every bin. Small greenhouse organization works best when the daily tools sit by the door and the seasonal gear goes up high.
What is the best shelving for a greenhouse?
Wire shelves on the sunny walls, because light passes through to the plants below. Use solid wood benches on the north wall for heavy bags, and a tiered stand for seedlings so every pot gets light. Make sure each tier holds at least 50 pounds — wet potting mix is heavier than it looks.
How do I store potting soil in a greenhouse?
Keep it in closed, lidded bins off the ground so it stays dry and pests stay out. Put the bin on the lower shelf of the potting bench, near the door, so you can scoop without carrying a heavy bag across the greenhouse. Label the bin with the mix type and the date you opened it.
How do I winterize a greenhouse?
Clean the glass or panels, check the heater or frost cloth, drain the hoses, and move seed packets, liquid feeds, and paint out of freezing air. Store summer gear up high in labeled bins and bring the frost cloth down where you can grab it fast. Sweep the floor so damp leaves do not sit against the wood all winter.
A Greenhouse That Works as Hard as You Do
The best greenhouse organization ideas do not need a bigger greenhouse or a big budget. They need a cleanout, three zones, shelves that fit, and ten minutes a week to keep it all working. Start with the emptying: pull everything out, sweep the floor, and make the four piles. The hooks and the shelves can wait until tomorrow — the cleanout is the first step, and it takes less time than hunting for one missing trowel.